原文: http://the.taoofmac.com.nyud.net:8090/space/blog/2005/08/23/2359
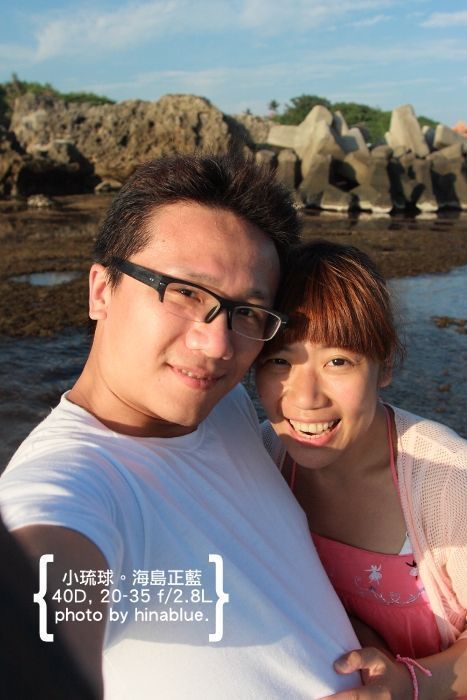
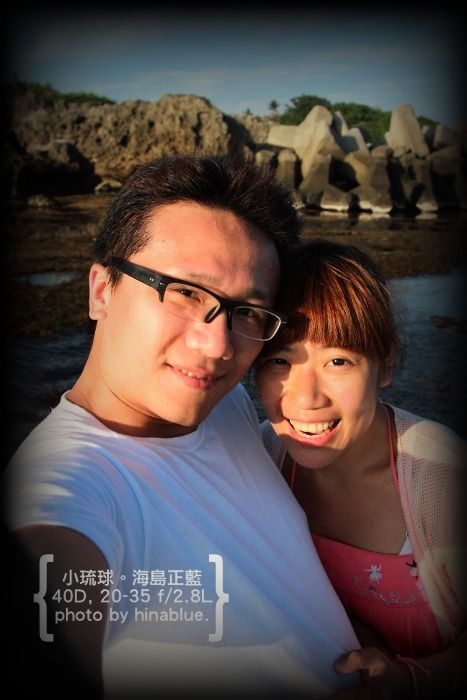
我把他作成 bash 來跑,效果不錯,放張比較圖片給大家看看。
轉換前:

轉換後:

係數的部份,可以自行參考 ImageMagick 官方說明。底下附上 shell-script 給大家參考。基本上就是,你丟到圖片資料夾中執行,他只會掃描第一層的所有 JPG,然後全部套上 Lomography 風格後,儲存在 lomo 子目錄底下。
切記,檔案不要太大,不然 CPU 應該會燒起來(喂)。
#!/bin/bash
if [ ! -d "./lomo" ]; then
  `mkdir lomo`
fi

`/usr/bin/convert -size 100x100 xc: -fx '(1-(2*i/w-1)^4)*(1-(2*j/h-1)^4)' ./lomo/lomo_mask.png`

for file in `find ./ -maxdepth 1 -type f -iregex ".*\(jpg\|jpeg\)"`
do
  identify=`/usr/bin/identify -format '%wx%h' "$file"`
  if [ ! -f "./lomo/"$identify"_mask.png" ]; then
		`cp ./lomo/lomo_mask.png ./lomo/"$identify"_mask.png`
		`/usr/bin/mogrify -resize "$identify"! -gaussian 0x5 ./lomo/"$identify"_mask.png`
  fi
	`/usr/bin/convert "$file" -contrast -level 120 -modulate '100,120' ./lomo/"$file".png`
	`/usr/bin/composite -compose Multiply ./lomo/"$identify"_mask.png ./lomo/"$file".png ./lomo/"$file"`
done

`rm ./lomo/*.png`
大概就是這樣(笑)

