
聊完狀態管理之後,我們來聊一下前端的路由。最近各大家前端工具都有支援前端路由的功能。而 Vue-Router 是官方推出的。功能上都大同小異,你也可以自己做一個(我最喜歡自己做輪子了)。
如果你做好了記得開源出來~
前端路由
前端做這件事情應該是 Angular 起了一個頭,畢竟身為 Google 的親生兒子,所以很熱門。其實他並不是什麼很新穎的技術,主要是依靠 HTML5 History API 來做操作。在不支援 History API 的瀏覽器當中,大多都是使用 URL hash 的方式來達成。
例如說:
#/hoomepage

#/helloworld

#/uccu
然後 HTML5 History API 出現之後,我們就能直接去操作網址,看起來就比較美觀。這裡有一個大前提,我們需要將 Web Server 把所有的請求,都指向你的 index.html。
而 Vue Router 的使用方式也很簡單,
import Vue from 'vue';
import Router from 'vue-router';
import App from '@/App.vue';
import HelloWorld from '@/components/HelloWorld.vue';

Vue.use(Router)

const router = new Router({
  mode: 'history',
  routes: [
    {
      path: '/helloworld',
      component: HelloWorld,
      meta: {},
      children: []
    }
  ]
});

new Vue({
  router: router,
  render: h => h(App)
}).$mount('#app');
你在 new Vue 的時候,把 Router 放進去就可以了。
Vue Router 路由設定
這個路由設定有幾個屬性可以使用:
mode路由模式,可用數值有:hash瀏覽器預設,就是 URL hash 的方式。history使用 HTML5 History API 的方式。abstract所有 JavaScript 環境皆可用。如果取不到瀏覽器 API,會強制進入這模式。
base路由的根路徑,預設是使用/這個根路徑。routes是個陣列,裡面包含了你的路由設定。linkActiveClass設定 全域 的<router-link>若路由相符,會加入的 class 名稱。linkExactActiveClass跟上一個很類似,但你的路由必須要「完全相同」才會加入 class 名稱。scrollBehavior設定捲軸的屬性,例如你想要「上一頁」回到某個特定位置的時候。parseQuery解析查詢字串的自定義函式,會覆蓋預設函式。stringifyQuery反解析查詢字串的自定義函式,會覆蓋預設函式。fallback僅接受布林值,當你的路由模式不支援 History API 時,會退回去使用 URL hash 的方式,預設為true。
而這個 Router 的內建方法有:
beforeEach當路由開始進入之前,會執行此函式。函式會回傳三個參數,to將要前往的 Route 物件實例。from來源的 Route 物件實例。next這形同於回呼函式,你必須要呼叫他next()他才會繼續往下做。
beforeResolve當路由內部的所有路由防護規則都被解析之後執行,跟beforeEach一樣有三個參數。afterEach當路由結束操作後,會呼叫此函數。跟beforeEach一樣,但是沒有next()的回呼函式。push類似 History API 的pushState,本身是可以接受 Promise 操作。replace類似 History API 的replaceState,本身是可以接受 Promise 操作。go類似 History API 的go,傳入的是步驟數字。back你可以把他想像成,把go傳入負值,例如go(-1)。forward跟go很類似的操作。resolve取回一個解析過的 URL,他可以返回:location回傳 Location 物件實例。route回傳 Route 物件實例。href回傳 URL 字串。
getMatchedComponents回傳解析路徑後所符合的 Vue 元件。addRoutes加入路由,這個路由是陣列格式。onReady所有的路由以及路由所使用的 Vue 元件都解析完成後,會呼叫此函數。onError路由以及路由所使用的 Vue 元件解析若有錯誤,會呼叫此函數。
我們從比較基礎的部分來講,最主要是 routes 的相關設定,他僅能接受 Route 設定資料物件,這個物件本身包含了以下幾個屬性跟方法:
path路徑,從base開始算。name這一個路由的名稱,他會在一些路由方法中可以使用。component這個路由配置的 Vue 元件。components設置有命名規則的 Vue 元件。redirect重新導向路徑,可以是字串﹑Location 物件或是函式。props將路由上面的正規配置當作屬性傳入元件當中,可以是布林值、物件或函式。alias路由別名,可以是字串或是字串組成的陣列。children嵌套路由,就是這個路由的兒子(你可以這麼理解沒問題)。meta可傳入任何值,用於路由本身的資料集。beforeEnter進入此路由前,會先執行的防禦路由方法函式,自身會帶入to,from與next()參數。caseSensitive路由本身是否區身大小寫,僅接受布林值,預設為false。Path-to-RegExp可接受 Path-to-RegExp 的設定。
我們用文章一開始的例子來擴充解釋:
import Router from 'vue-router'

import NotFound from '@/components/NotFound.vue'
import HelloKittyWithId from '@/components/HelloKittyWithId.vue'
import HelloKittyWithName from '@/components/HelloKittyWithName.vue'
import HelloKitty from '@/components/HelloKitty.vue'
import HelloWorld from '@/components/HelloWorld.vue'
import PathRegex from '@/components/PathRegex.vue'

const router = new Router({
  mode: 'history',
  routes: [
    {
      path: '/helloworld',
      name: 'HelloWorld',
      component: HelloWorld,
      beforeEnter (to, from, next) {
        if (from.name === 'HelloKitty') {
          next({ to: 'NotFound' })
        }
        next()
      },
      meta: {
        pageNeedLogin: true,
        showFooter: false
      },
      children: [
        {
          path: 'dark',
          name: 'HelloDarkWorld',
          component: HelloDarkWorld
        }
      ]
    },
    {
      path: '/hellokitty',
      name: 'HelloKitty',
      component: HelloKitty,
      children: [
        {
          path: 'id/:id',
          name: 'HelloKittyWithId',
          components: {
            a: HelloKittyWithId,
            b: HelloKittyWithName
          },
          props: true
        }
      ],
      alias: [
        'hellokitty-alias',
        'hellokitty-ok'
      ]
    },
    {
      path: '/path-to-regex',
      name: 'PathRegex',
      component: PathRegex,
      pathToRegexpOptions: {
        sensitive: true,
        strict: true
      }
    },
    {
      path: '/hellokitty2',
      redirect: '/hellokitty'
    },
    {
      path: '/hellokitty3',
      redirect: { name: 'HelloKitty' }
    },
    {
      path: '*?',
      name: 'NotFound',
      component: NotFound
    }
  ]
});
以上是大部分使用上的例子,不過由於 pathToRegexpOptions 比較特別,這裡就不多做解釋。
- 在
path當中,你可以使用*來做萬用匹配。 - 在
path當中使用:id表示接受一個變數為id的數值。 - 如果你有設定
props: true的話,可以將剛剛的id傳入元件中。 - 原本的
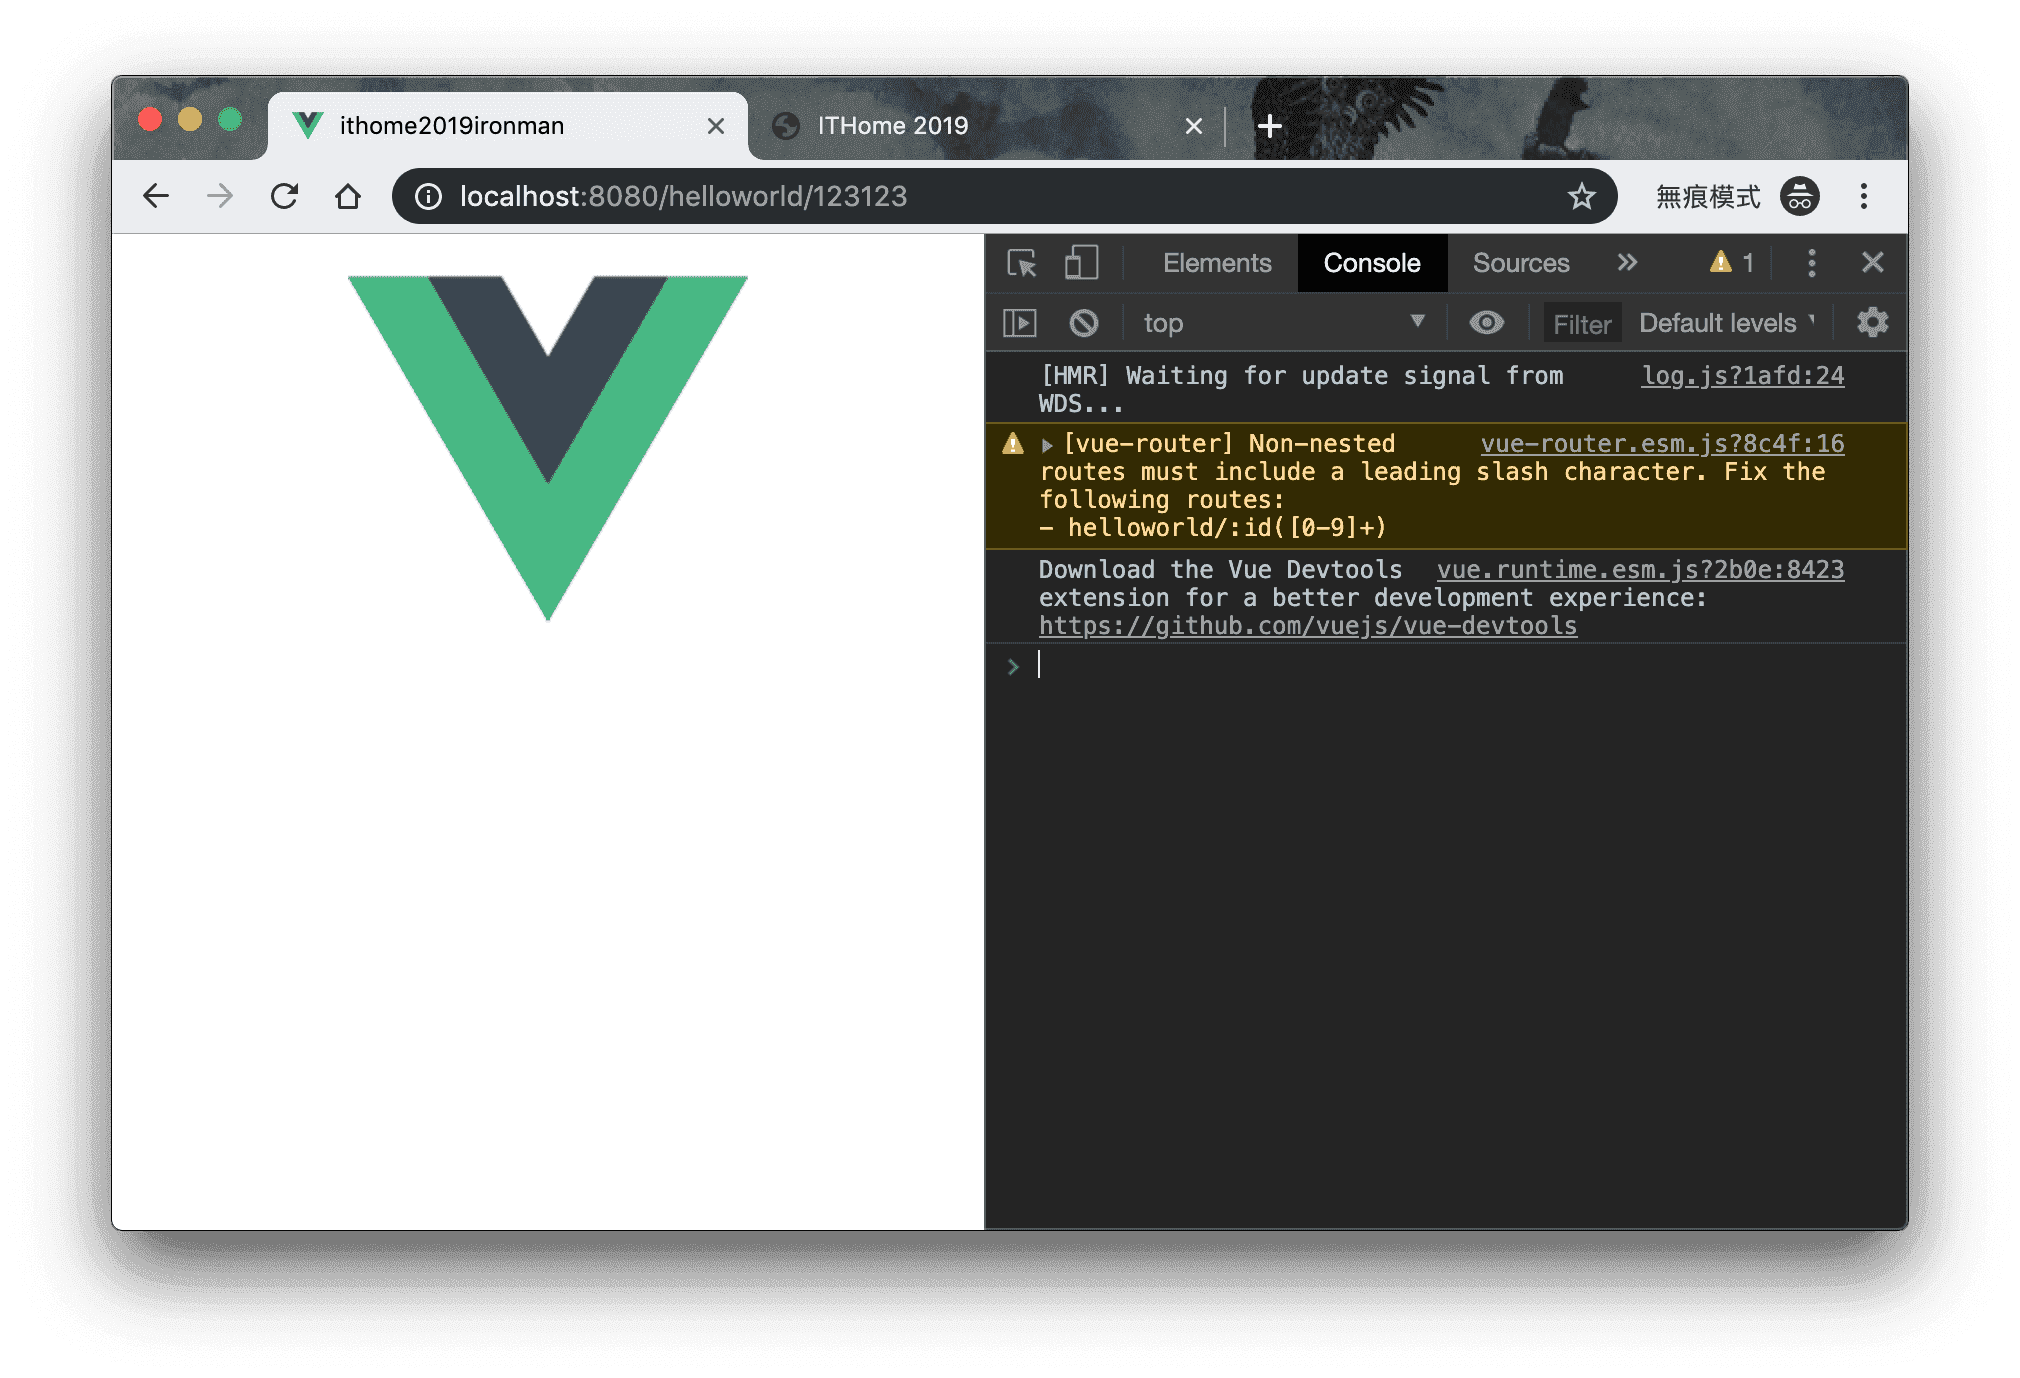
:id也可以加入正規,例如說:id([0-9]+)這樣的作法。 redirect就是轉頁的概念,他後面也可以接函式。alias的概念就是設定好的路徑,會被導向同一組路由設定。beforeEnter要記得呼叫next()他才會繼續往下做。children的路徑就會接續他老爸再繼續往後,記得不要在path加/,不然他會回到根目錄去。components建議要有一個預設值default,不然你的樣版內,非命名規則的樣版會無法顯示。
另外一點,最上層的 Route 的開頭就一定要有 / 的設定,不然會被警告,且會失效!
關於 Router 元件應用
每個路由元件的載入,扣除最根元件以外,路由需要搭配一組元件來做應用。而在 App.vue 裡面,需要使用 <router-view> 來當作一個 Route 的進入點。而,若是你使用嵌套路由,那麼你的嵌套路由父元件也是需要一組 <router-view> 來作為進入點。
<template>
  <section>
    <router-view></router-view>
  </section>
</template>
然而,<router-view> 有一個屬性 name 可以用,他的應用範圍,是將 Route 設定當中,有命名的元件來套用。在你的 Route 設定中,要使用 components 來設定,舉例來說,
<template>
  <section>
    <!-- 這個區段會渲染 `default` 的元件 -->
    <router-view></router-view>
    <!-- 這個區段會渲染命名為 `a` 的元件 -->
    <router-view name="a"></router-view>
  </section>
</template>
那麼你的路由設定可能是這樣,
import Router from 'vue-router'

import HelloKitty from '@/components/HelloKitty.vue'
import HelloWorld from '@/components/HelloWorld.vue'

const router = new Router({
  mode: 'history',
  routes: [
    {
      path: '/',
      name: 'HelloWorld',
      components: {
        default: HelloKitty,
        a: HelloWorld
      }
    }
  ]
});
若是使用嵌套路由的話,就如同上述例子一樣,你必須提供一個 <router-view> 來當作進入點。
我們有了進入點之後,Vue Router 提供了一個樣版方法 <router-link> 用來渲染出對應的連結,這個樣版方法可以接受下列屬性:
to接受命名的路由名稱,或是路由物件。路由物件包含了:path直接填寫路徑,不要與name混用。name填入命名的路由名稱,不要與path混用。params路由若有使用正規,則可填入路由正規所指定的變數數值,使用 Object 模式傳入。query設定網址搜尋資料,亦即?後面的設定值,使用 Object 模式傳入。
replace原本的to指令預設是使用router.push()的方式,若加了這個屬性,則會適用router.replace()的方式執行。若使用replace,則你的 History 不會留下記錄。append意思就是把現在的路徑 加入 這個<router-link>所設定的路徑。tag原本<router-link>預設使用 A 標籤,這個設定可以讓你指定其他標籤。active-class當路由正規規則符合時,會套用這個屬性所指定的類別名稱。預設會使用router-link-active這個名稱。exact如果加入這個屬性,則需要正規 完全符合 的時候,才會套用exact-active-class指定的類別名稱。exact-active-class當路由正規規則 完全符合 時,會套用這個屬性所指定的類別名稱。預設會使用router-link-exact-active這個名稱。event觸發該路由的事件,預設是使用click事件。
關於上述的 params,所謂路由正規其實就是文章上面範例中,所提到的 id/:id 這樣的例子,而這個例子在 <router-link> 當中的設定,看起來就會像這個樣子:
<template>
  <section>
    <router-link
      :to="{ name: 'HelloKittyWithId', params: { id: 123 } }"
    ></router-link>
  </section>
</template>
而在 Vue Router 3.1.0 版本之後,對於 <router-link> 則提供了一個插槽( Slot )的新功能。這個功能可以讓你替換調原本 <router-link> 的結構,這個插槽提供了幾個數值讓你使用:
href解析過後的網址,提供給 A 標籤的href使用的字串。route傳回一個 Route 的完整物件。navigate觸發路由的事件函式, 必要時會阻止此事件執行 。isActive回傳路由正規是否符合,回傳值為布林值。isExactActive回傳路由正規是否 完全符合 ,回傳值為布林值。
這個新功能可以讓你自己決定你的 <router-link> 會長成什麼樣子。舉例來說:
<template>
  <section>
    <router-link
      v-slot="{ href, route, navigate, isActive, isExactActive }"
    >
      <a :href="href" @click="navigate">
        <img src="./assets/img/logo.png" alt="Logo">
        <span>{{ route.fullPath }}</span>
      </a>
    </router-link>
  </section>
</template>
請注意,若你的 A 標籤有使用
target="_blank",則navigate會被忽略。
另外有一件事情,由於 <router-link> 實際上只是幫你做路由的動作,所以,如果你在 <router-link> 上面綁定了 click 的時候,你會發現沒有被觸發:
<template>
  <section>
    <router-link to="hello" @click="hello">Hello</router-link>
    <router-link to="kitty" @click.native="kitty">Kitty</router-link>
  </section>
</template>
上述的例子,只有 kitty 這個事件會被觸發。亦即,你必須要在 click 事件的後方,加入 .native 修飾子才會有效。有沒有加入 .native 的差異在於,一般在 Vue 的事件綁定中,是以 Vue-Event 為主,而加上了 .native 則代表,你想要觸發的是 DOM 的原生事件。
是的,在 <router-link> 這個元件上,需要用到 .native 來確保事件發生。不然,<router-link> 基本上都會直接忽略你所綁定的事件。
小結
前端路由確實是一個風潮,只是說不知道能持續多久?倘若以 SPA 來看,大家都做成一頁了,好像也沒必要使用前端路由了?
但是,
你覺得我會這麼安分的就這樣放過路由這件事嗎?
剩下的,就待下回分曉了(燦笑)。